
Landscaping
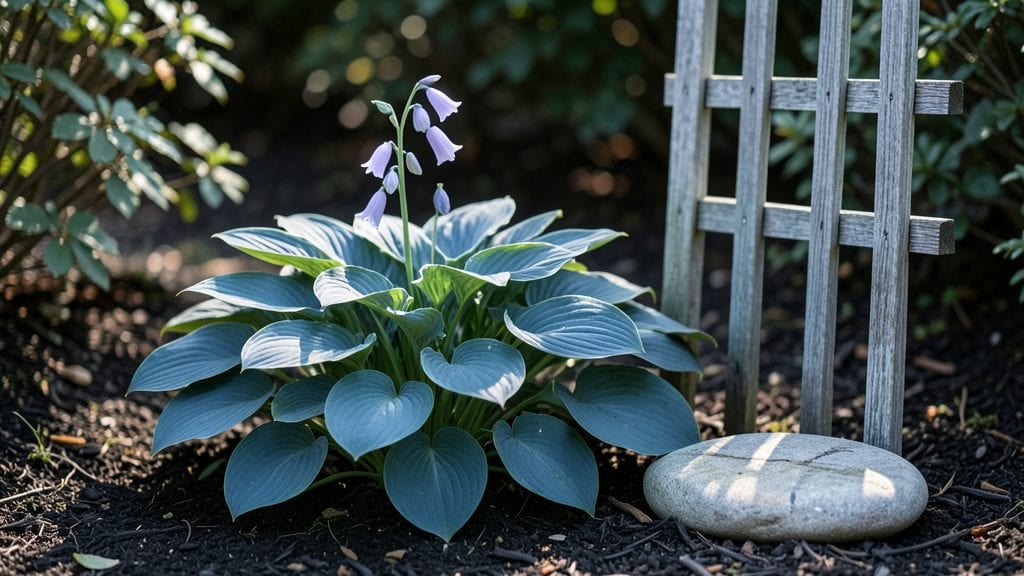
A clever side garden design can turn your 3-foot-wide strip into a private, lush retreat—if you layer plants the right way. ✨ I transformed mine into a year-round sanctuary by stacking evergreens, blooming perennials, and climbing vines that spill over a trellis.
The key? Treating vertical space like a blank canvas rather than wasted real estate.
Start by measuring sunlight and soil—most side gardens get partial shade, so drought-tolerant plants like boxwoods and heucheras thrive there. Add a 3-foot-tall lattice along the fence for clematis or morning glories, then tuck in low-growing ferns or ajuga at the base.
A gravel path (just 18 inches wide) keeps the space usable without crowding the plants.
By summer, you’ll have a living wall of color and texture—think burgundy hydrangeas, silver lamb’s ear, and cascading petunias. The evergreens provide winter structure, while spring bulbs peek through early. This design works for any side yard, whether you want cottage charm or sleek modern lines.
Fair warning: Skip the turf—it’s a waste of space. Instead, use mulch to define borders and keep weeds at bay. The result? A garden that feels intentional, not cramped. Ready to turn that overlooked strip into your favorite outdoor spot?
📚 In This Guide
- What you need
- Instructions
- Tips and common mistakes
- Wrapping up and next steps
What you need
- ● Soil & Amendments: Topsoil (2–3 cubic yards, depending on garden size)
- ● Compost or organic matter (1–2 bags)
- ● Mulch (cedar or hardwood, 2–3 bags)
- ● Plants: Tall privacy shrubs (e.g., Bamboo, Arborvitae, or Hydrangeas – 3–5 plants)
- ● Medium-height foliage (e.g., Boxwood or Dwarf Lilac – 4–6 plants)
- ● Low-growing ground covers (e.g., Creeping Thyme or Ajuga – 10+ plants)
- ● Seasonal flowers (e.g., Impatiens, Pansies, or Heuchera – 1–2 flats)
- ● Hardware & Structures: Trellis or lattice panel (6’ tall x 3’ wide, for climbing plants)
- ● Garden stakes or decorative posts (4–6, for support)
- ● Garden edging (flexible metal or plastic, 10–15 ft)
- ● Tools: Shovel & spade
- ● Garden trowel
- ● Pruning shears
- ● Wheelbarrow (for hauling soil)
- ● Measuring tape & gloves
- ● String lights or solar-powered path lights (for ambiance)
- ● Decorative rocks or stepping stones (for pathways)
- ● Rainwater collection barrel (to save on watering)
- ● Wind chimes or hanging planters (for added charm)
- ● Fertilizer (slow-release or organic, 1–2 bags)
How to design a side garden for privacy and season-long interest
Here’s how I create a narrow, layered side garden that delivers year-round privacy and visual appeal.
🌿 Step 1: Plan for Vertical and Horizontal Layers
Start by measuring the space—most side gardens benefit from a 6-foot width to allow movement while still feeling enclosed. I divide the design into three layers: tall back (8-10 feet), mid-height (3-5 feet), and ground cover (1-2 feet). This ensures privacy from the first season while creating depth.
Sketch your layout, noting where sunlight hits strongest. If your side garden gets morning sun, prioritize shade-tolerant plants like heuchera or ferns in the back row. For afternoon light, place sun-loving ornamental grasses or boxwood where they’ll thrive without competition.
🪴 Step 2: Install Structural Backdrop Plants
Use the 4 tallest plants (like arborvitae, bamboo, or hydrangeas) as your foundation. Space them 3-4 feet apart to fill gaps naturally. I always plant these first—their roots establish quickly, creating a sturdy base for lighter foliage later.
Dig holes twice as wide as the root ball and mix in a handful of slow-release fertilizer to encourage early growth. Water deeply before backfilling to eliminate air pockets. These plants will form your primary privacy screen within 2-3 seasons.
☀️ Step 3: Add Mid-Height Fillers for Texture
Fill the middle layer with 3-4 plants per 6-foot section, choosing varieties that bloom at different times. I like dwarf lilacs, abelia, or ninebark—they provide color from spring to fall while maintaining a neat, structured look. Space them 18-24 inches apart to allow airflow and prevent disease.
Here’s the trick: alternate evergreen (like boxwood or holly) with deciduous (like weigela or spirea) to ensure year-round interest. Mulch with 3 inches of shredded bark to suppress weeds and retain moisture—this is where most side gardens fail by neglecting ground prep.
🌱 Step 4: Layer Ground Covers and Seasonal Accents
Choose creeping thyme, ajuga, or hostas to soften the base and prevent soil erosion. These plants spread quickly, filling gaps and adding lushness. I plant them 12-18 inches apart in clusters of 3 to create a natural, dense carpet.
Add 3-4 seasonal accents (like pansies in spring, salvia in summer, or hellebores in winter) to keep the garden dynamic. Place these near the front or along pathways where they’ll be noticed. Water deeply after planting to encourage root establishment—shallow roots here mean plants won’t survive drought.
✂️ Step 5: Maintain Layers Through the Seasons
Prune once in late winter (before buds swell) to shape tall plants and remove dead growth. I use clean, sharp shears to make 45-degree cuts just above a leaf node—this encourages bushier growth. For grasses, I cut back one-third of the height in early spring to stimulate new shoots.
Fertilize lightly twice a year (early spring and mid-summer) with a balanced 10-10-10 formula. Over-fertilizing leads to weak stems and fewer flowers—this is a common mistake in side gardens. Instead, focus on mulching annually to improve soil structure and retain moisture.
Tips & tricks for perfect side garden design
Between us, these are the little details that make the difference between a side garden that just looks nice and one that actually delivers privacy and seasonal interest year after year.
Layering is Everything: The 6-foot width and three-layer system (8-10 feet tall, 3-5 feet mid-height, 1-2 feet ground cover) isn't just arbitrary—it's about creating visual depth that tricks the eye into feeling more enclosed. I always mark my tallest plants with flags during planning so I can visualize how they'll fill the vertical space. Think of it like a living room with a sofa (tall plants), side tables (mid-height), and a rug (ground cover)—each layer serves a purpose.
Sunlight Strategy: Don't just eyeball where your plants go—actually observe your space throughout the day. Morning sun plants like heuchera or ferns in the back row will scorch if they get afternoon heat, while boxwood or ornamental grasses need that full sun to thrive. I test by placing a white piece of cardboard where I plan to plant in the morning and again in the afternoon—where it stays cooler is where your shade-loving plants should go.
Root Ball Respect: That instruction about digging holes twice as wide as the root ball? Don't skip it. Roots need room to spread out without getting crowded, and this prevents transplant shock. I've seen too many side gardens fail because people plant too close together—roots compete for nutrients, and you end up with stunted growth. Pro tip: Loosen the soil at the sides of the hole with a garden fork to encourage roots to grow outward rather than circling the root ball.
Mulching Matters: The 3 inches of shredded bark mulch isn't just for looks—it's a game-changer for moisture retention and weed suppression. I always apply it right after planting and top it up annually. This creates a microclimate that keeps roots cool in summer and protected in winter. Plus, it breaks down slowly to improve soil structure over time. Just don't pile it against plant stems, or you'll invite rot.
Pro Tips for Side Garden Design
- Between us, these are the little details that make the difference between a side garden that just looks nice and one that actually delivers privacy and seasonal interest year after year.
- I always mark my tallest plants with flags during planning so I can visualize how they'll fill the vertical space.
- Sunlight Strategy: Don't just eyeball where your plants go—actually observe your space throughout the day.
Frequently asked questions
What’s the best way to maximize privacy in a narrow side garden?
Layering is key! Start with tall, fast-growing plants like bamboo or evergreen shrubs (e.g., Holly or Boxwood) at the back. Add medium-height perennials (e.g., Hydrangeas) in the middle, and fill gaps with spillers like Creeping Thyme or Ivy. A trellis with climbing roses or Clematis adds vertical privacy while saving space.
How long does it take for a side garden to become fully private?
That depends on your plants! Quick solutions like bamboo or tall grasses (e.g., Pampas Grass) can provide privacy in 1–2 seasons. Slower growers like Evergreen Trees (e.g., Arborvitae) take 3–5 years to mature. For instant privacy, consider privacy screens, lattice panels, or tall fencing (4–6 ft) as a temporary fix.
Is a side garden design expensive? What’s a budget-friendly approach?
Not necessarily! Start with affordable staples like mulch, recycled bricks, or gravel for pathways. Opt for perennial plants (cheaper long-term than annuals) and propagate cuttings from friends’ gardens. DIY projects like pallet fences or upcycled containers add charm without breaking the bank. Prioritize low-maintenance natives to cut labor costs.
Can I design a side garden with limited sunlight?
Choose shade-tolerant plants like Hostas, Ferns, or Astilbes for dappled light, and Heucheras or Caladiums for deeper shade. Add reflective surfaces (mirrors, light-colored stones) to brighten the space. For vertical interest, try climbing Hoya or English Ivy on a north-facing wall. Evergreen shrubs (e.g., Pieris) keep greenery year-round.
What’s the biggest mistake to avoid when designing a side garden?
Overcrowding! Poor spacing leads to competition for water/nutrients, stunted growth, and pest issues. Always check plant tags for mature size and spacing needs. Leave 12–18 inches between shrubs and 2–3 ft for perennials. Avoid planting too deep—follow the root flare rule (where roots flare at the soil line) to prevent rot.
Wrapping up and next steps
A side garden is your chance to transform a narrow space into a functional, private, and visually stunning oasis—without sacrificing style or practicality.
By layering plants, smart hardscaping, and strategic lighting, you’ve got all the tools to create a year-round retreat that feels like an extension of your home. 🌿✨
Now that you’re inspired—and armed with answers to common questions—take the next step! Start small: sketch your space, gather a few key materials, and plant one layer at a time. Your dream side garden is closer than you think—go make it happen!