
How To
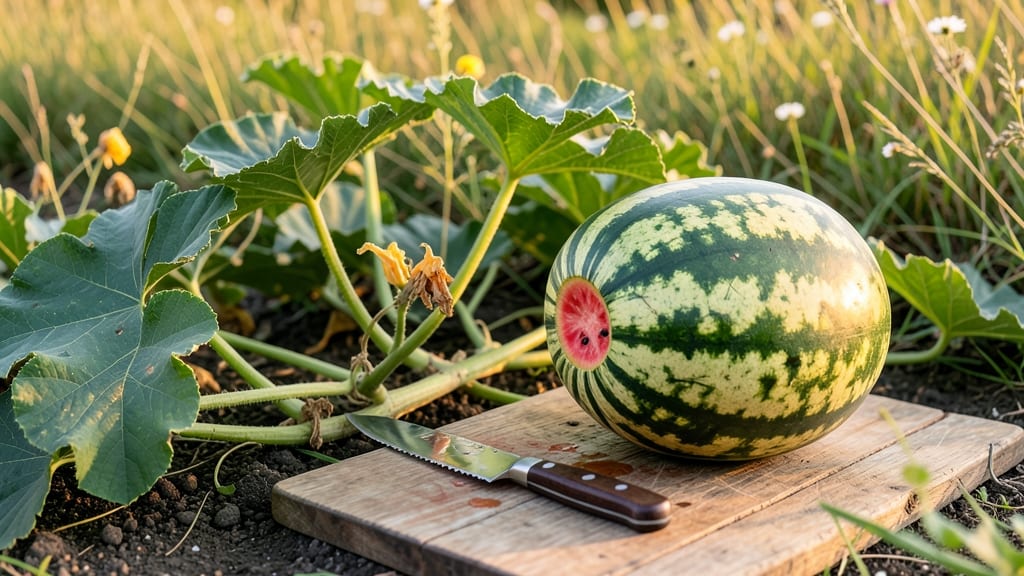
Knowing when to pick a watermelon from your garden 🍉 means spotting the perfect mix of color, texture, and sound—before it slips into overripe territory.
Picking too early means bland, underripe fruit—while waiting too long risks seedy disappointment. The good news? These five foolproof tricks take the guesswork out of harvest time, so you never miss the sweetest moment.
From the creamy yellow spot on the ground to the hollow thump when tapped, each clue reveals whether your watermelon is ready to eat or still needs time. I’ll walk you through every method, plus how to adjust for your Zone 6a climate.
By the end, you’ll harvest watermelons at peak ripeness—every time—without relying on luck or trial and error.

5 Visual and physical tricks to test watermelon ripeness
Harvesting a watermelon at the perfect moment transforms your garden labor into sweet, juicy rewards. But how do you know when that moment arrives? Relying on size or days since flowering alone can lead to disappointment—either a bland, underripe fruit or one so overripe it’s mushy and seedy.
The secret lies in combining visual cues, physical tests, and even scent to determine true ripeness. These five tricks, tested by gardeners across climates, will help you pick watermelons at peak flavor every time.
First, let’s address the biggest myth: color alone isn’t enough. A dark green rind might look ripe, but without other signals, you’re gambling. Instead, focus on the combination of five key indicators that work together like a symphony.
Each trick builds on the last, giving you confidence that your watermelon is ready for the table. Whether you’re growing heirloom varieties or seedless hybrids, these methods apply universally.
Check the Field Spot
Look for a creamy yellow or tan spot on the side of the watermelon that rested against the ground. This spot, called the field spot, darkens as sugars develop. A dull yellow or white spot means it’s not ready yet.
Inspect the Tendril
Find the small curly tendril near the stem where the watermelon attaches to the vine. When it turns brown and crispy, this signals ripeness. A green or yellow tendril means the fruit needs more time.
Perform the Thump Test
Tap the watermelon with your knuckles—it should sound deep and hollow, like a drum. A dull thud means it’s underripe. Pro tip: Lift the watermelon to feel its weight—ripe melons feel heavy for their size.
Twist the Stem
Gently twist the stem where it meets the watermelon. If it detaches easily with a slight pop, the fruit is ripe. Resistance or a green break means it’s not ready. This trick works best in the morning when the stem is firm.
Test the Ground Spot Firmness
Press your thumbnail into the field spot. If it gives slightly (like pressing a ripe avocado) but doesn’t dent deeply, the watermelon is ready. A hard spot means it’s too firm, while a deep dent signals overripeness.
Start with the field spot and tendril—these are the most reliable early indicators. Once you spot a creamy yellow field spot and a brown, crispy tendril, move to the thump test and stem twist for confirmation.
The thumbnail test is the final check, ensuring the rind has reached the perfect balance of firmness and softness. Combine these tricks, and you’ll never miss peak ripeness again.
Timing matters, especially in hot climates where watermelons ripen faster. If you’re growing in Zone 9 or higher, check ripeness every 3–4 days starting around 70 days after flowering.
In cooler zones, extend your timeline to 80–90 days. Pro gardeners also recommend harvesting in the morning when temperatures are cooler—this preserves sweetness and texture.
One trick I’ve learned from years of gardening? Don’t ignore the vine. Healthy vines with dark green leaves and no yellowing are more likely to produce ripe fruit. Stressed vines (from drought or pests) can delay ripening or lead to poor flavor.
Pair these ripeness tests with proper vine care, and you’ll consistently harvest watermelons that taste like summer in every bite.
For seedless varieties, these tricks still apply, but watch closely—they often ripen slightly faster than traditional types. If you’re growing yellow-fleshed watermelons, the field spot may appear lighter, so rely more on the tendril and thump test for accuracy.
And if you’re unsure? Cut one open as a test—if the seeds are white and the flesh is deep red (or yellow), you’ve nailed it!
Remember, the goal is consistency. The more you practice these tricks, the more intuitive they become. Soon, you’ll glance at a watermelon vine and instantly know which fruits are ready. That’s the joy of gardening—turning science into second nature,
Watermelon ripeness by variety: when to expect peak sweetness
Not all watermelons ripen on the same schedule—variety type, climate conditions, and vine health all play critical roles in determining peak sweetness. Seedless varieties often mature faster than heirlooms, while yellow-fleshed types may take longer to develop full sugar content.
Understanding these differences helps you adjust your harvesting timeline to avoid missing the sweetest window.
Your local growing season length also impacts ripening. In short-season climates (like USDA Zones 6-8), prioritize early-maturing varieties like 'Sugar Baby' or 'Crimson Sweet'. In longer growing zones (Zones 9+), you can afford slower varieties like 'Moon and Stars' or 'Charleston Gray' without risking frost damage before harvest.
Soil fertility and consistent moisture speed up ripening, while heat stress or poor pollination can delay it. Always monitor vine health—yellowing leaves or stunted growth may signal nutrient deficiencies that slow fruit development.
Here’s a quick-reference guide to help you time your harvest by variety type, including ideal days to maturity and key ripeness cues:
For seedless varieties, don’t wait past 70 days—these melons often over-ripen quickly and lose sweetness. Heirlooms, however, can sit on the vine up to 90 days if temperatures stay warm.
If your summer heat waves arrive early, prioritize harvesting heirlooms before fruit sunscald (white patches) or over-maturation sets in.
Adjust your harvest window based on soil conditions: Sandy soils dry out faster, speeding up ripening, while clay soils slow it down. Always test for ripeness using the thump test or tendril dryness—never rely on days-to-maturity alone.
A slightly underripe watermelon is better than one left too long on the vine!