Picking
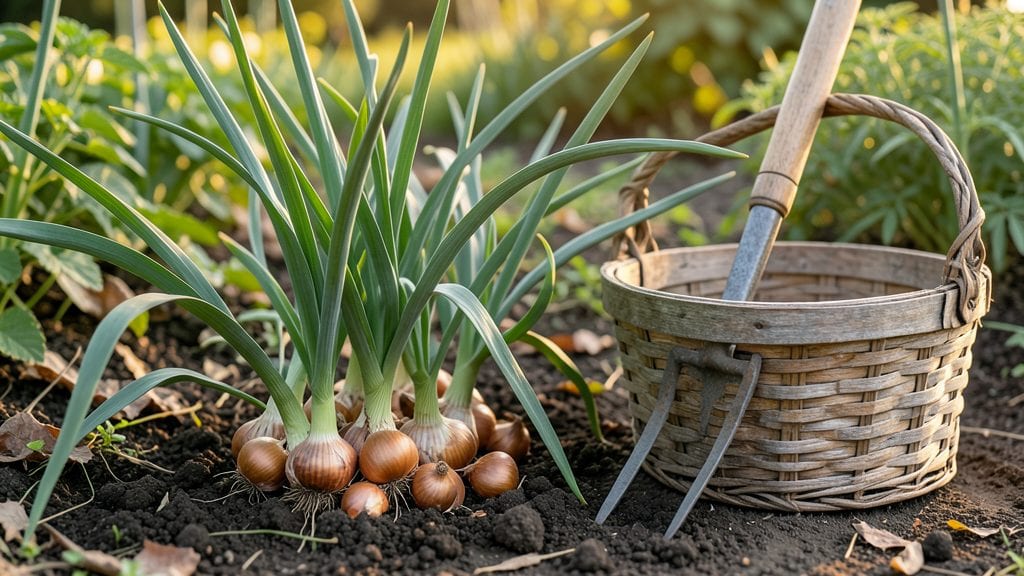
Harvesting shallots from your garden at the right time means the difference between plump, flavorful bulbs and sad little nubs that taste like disappointment.
Shallots are one of the most rewarding crops to grow, offering bold flavor and easy cultivation—but timing your harvest wrong can mean smaller bulbs or wasted effort. Learn the exact moment to dig for plump, flavorful shallots that will make your kitchen (and neighbors) jealous.
If you’ve ever dug up a shallot only to find it still small and rubbery, you know how frustrating it is. The key is watching for those telltale signs: when the tops turn yellow and collapse, and the bulbs feel firm beneath the soil.
That’s your cue to grab a fork and get to work before the flavor fades.
In this guide, I’ll walk you through the perfect harvest window, the best techniques for digging and curing, and how to store your shallots so they stay fresh all winter. No more guesswork—just big, bold bulbs ready for your favorite recipes.


When to harvest shallots for maximum bulb size and flavor
Timing your shallot harvest is everything—dig too early, and you’ll get small, underdeveloped bulbs. Wait too long, and they’ll split or rot in the ground. The key lies in watching three critical signals: leaf color, bulb firmness, and soil conditions.
I’ve learned that late summer to early fall (typically August through September) is the sweet spot for most climates, but regional variations matter.
Shallots thrive in USDA Zones 3-9, but cooler zones like Zone 5 may need to harvest slightly earlier. In warmer southern climates (Zone 9+), the harvest window stretches later into October.
Paying attention to your local frost dates is crucial—shallots won’t tolerate freezing, so plan to harvest 2-3 weeks before the first frost.
Here’s what to watch for to nail the perfect harvest:
| Harvest Signal | What to Look For | Action |
|---|---|---|
| Leaf Color | 50-70% of tops turn yellow-brown and dry | Harvest within 3-5 days of first yellowing |
| Bulb Firmness | Bulbs feel firm and solid when gently squeezed | Dig when 70% of bulbs meet this test |
| Top Growth Height | Foliage 2-3 inches above soil (collapsing is ideal) | Harvest before tops fully flop to ground |
| Soil Conditions | Soil is dry to touch (1-2 inches deep) | Wait for dry spell before digging |
| Climate Adjustments |
|
Adjust 1-2 weeks based on frost dates |
I’ve found that bulb size peaks when the foliage has yellowed by 50%—this is your golden window. At this stage, the shallots have absorbed maximum nutrients but haven’t yet started redirecting energy to seed production.
If you wait until the leaves are completely brown and crispy, the bulbs may split or develop hollow centers.
Another pro tip: Gently brush away soil from a few bulbs to check their size. Mature shallots should be 1-2 inches in diameter—smaller than a golf ball but larger than a marble. If they’re still pea-sized, give them another 2-3 weeks to grow.
Soil moisture plays a sneaky role in harvest timing. If the ground is too wet when you dig, the bulbs can rot or develop fungal issues. Aim to harvest during a dry spell—this also makes the soil easier to work with.
In my Zone 7 garden, I always wait for 3-4 days without rain before digging.
Don’t overlook the flavor impact of timing. Shallots harvested at peak maturity develop their boldest, most complex flavors. Early harvests taste mild, while overripe shallots can be bitter or pungent.
For the best culinary results, time your harvest to align with when you’ll use them—freshly dug shallots store best for 2-3 weeks at room temperature.
One mistake I made early on was harvesting based solely on calendar dates rather than plant signals. This year, I’m relying on the leaf color and bulb firmness combo, and my yield has never been better.
The difference in bulb size and flavor is night and day compared to my first attempts.
For perennial shallots (which regrow yearly), harvest in the same window but leave some foliage to fuel next year’s growth. Cut tops back to 2 inches above soil after harvest to encourage energy storage in the bulbs.
Step-by-step shallot harvesting techniques to avoid damage
Harvesting shallots at the right time ensures plump bulbs with rich flavor, but improper handling can lead to bruising or spoilage. The key lies in gentle digging, proper curing, and careful post-harvest care.
Whether you're a seasoned gardener or new to shallots, these techniques will help you preserve your harvest for months to come.
Before you begin, gather your essential tools: a garden fork, pruners, and a baking sheet for drying. Work on a dry, sunny day to minimize moisture-related damage. The goal is to handle shallots with care—avoiding cuts or bruises that invite rot during storage.
How to Harvest Shallots Without Damage
-
Step 1: Prepare the Soil
Gently loosen the soil around the shallot clumps with a garden fork, working about 6 inches deep. This prevents tearing roots and reduces bulb damage during extraction.
-
Step 2: Lift the Bulbs
Grasp the base of the foliage and pull upward to lift the entire clump. Avoid twisting or yanking—this can break bulbs or leave pieces in the soil. Shake off excess dirt gently.
-
Step 3: Trim the Foliage
Use clean pruners to cut the tops back to 2-3 inches above the bulb. This reduces moisture loss during curing while keeping the bulb intact.
-
Step 4: Cure the Harvest
Spread shallots on a baking sheet in a single layer, ensuring they’re not touching. Place them in a dry, shaded area with good airflow for 2-3 weeks to harden the skins.
-
Step 5: Store Properly
Once fully cured, store shallots in a cool, dark place (like a pantry) with good ventilation. Use mesh bags or paper sacks to prevent moisture buildup.
If you notice any soft or shriveled bulbs during curing, remove them immediately to prevent spoilage from spreading. Proper curing is critical—it extends shelf life and ensures peak flavor when you’re ready to use them in recipes.
For long-term storage, keep shallots in a humidity-controlled environment (around 60-70% humidity). Check them monthly for signs of mold or rot, and discard any affected bulbs to protect the rest of your harvest.
With these techniques, your shallots will stay fresh and flavorful for up to 6 months, making your garden’s hard work pay off all season long. Happy harvesting! 🌱