
Lawn
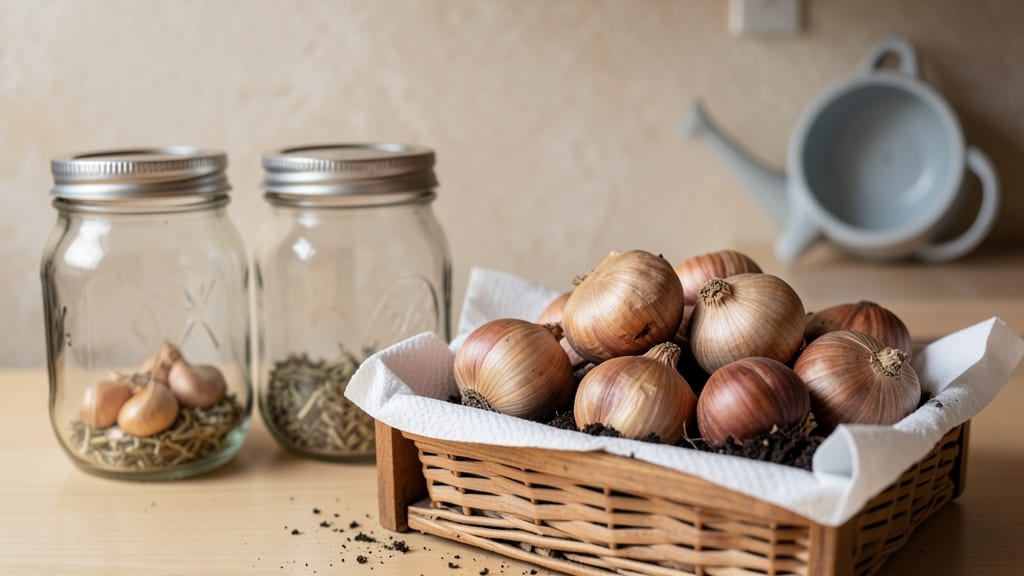
Mastering the art of garden seed storage can mean the difference between a thriving garden and wasted money—✨ I’ve learned the hard way that seeds don’t last forever unless you keep them in the right conditions: cool, dark, and dry.
The key isn’t just tossing them in a drawer; it’s controlling temperature, humidity, and even how you package them to extend their life for years.
You’ll need airtight containers like glass jars or vacuum-sealed bags, silica gel packets to absorb moisture, and a cool, dark spot—like a basement or fridge. Label everything with the seed type and date to avoid confusion.
Most seeds stay viable for at least a year this way, and some, like beans or peas, can last five years or more if stored correctly.
When it’s time to plant, a simple water test tells you if your seeds are still good—just soak them in a damp paper towel for a few days. If they sprout, you’re golden. No surprises at planting time, just fresh starts for your garden.
This method works for vegetables, flowers, and herbs alike, so you can save seeds from one season to the next without losing quality.
Even small mistakes—like leaving seeds in heat or humidity—can shorten their lifespan dramatically. But once you master these basics, you’ll have a seed stash ready for years of gardening adventures. Let’s get those seeds stored right so you can grow bigger, better gardens every season.
📚 In This Guide
- What you need
- Instructions
- Tips and common mistakes
- Wrapping up and next steps
What you need
- ● Air-tight containers: Glass jars (like mason jars), vacuum-sealed bags, or plastic containers with tight lids (e.g., 5–10 containers, depending on seed volume). Pro tip: 💡 Avoid cardboard boxes—they let moisture sneak in!
- ● Silica gel packets: 2–4 packets (or DIY with uncooked rice in a small cloth bag) to absorb humidity.
- ● Desiccant: 1–2 packets (like DampRid) for extra moisture control in larger storage spaces.
- ● Permanent markers or labels: To mark seed types, varieties, and storage dates.
- ○ Paper envelopes (optional but helpful): 10–20 envelopes for organizing seeds before sealing in containers.
- ● Fine-mesh sieve or sifter: To remove debris before storage.
- ○ Food dehydrator (optional): For seeds with high moisture content (e.g., beans, peas).
- ● Digital scale: Weigh seeds to track viability over time.
- ○ Humidity monitor: A small hygrometer (optional) to keep tabs on storage conditions.
- ● Freezer-safe bags: 2–3 bags if storing seeds in the freezer for long-term preservation.
- ● A cool, dark, and dry space (e.g., basement, fridge, or root cellar) with consistent temps between 32–41°F (0–5°C).
- ● Clean, dry hands or gloves when handling seeds to avoid moisture transfer.
- ● Patience! Let seeds dry completely (24–48 hours) after harvesting before storing.
Step-by-Step instructions for storing garden seeds long-term
Here's my foolproof method for keeping seeds viable for years—no fancy equipment needed.
🪴 Step 1: Dry Seeds Thoroughly Before Storage
Spread seeds in a single layer on a clean, dry paper towel or mesh screen. Place them in a warm, dry location away from direct sunlight for 3-7 days. You're looking for seeds that feel completely dry to the touch—no moisture at all. Humidity is the enemy here, and even slightly damp seeds will mold or rot over time.
I like to place a small fan nearby to speed up the drying process, especially if your climate is naturally humid. Check daily by gently pressing a seed between your fingers—it should crumble slightly but not feel sticky. Once fully dry, transfer them to an airtight container using the 1/4 cup measuring cup from your supplies.
💧 Step 2: Choose the Right Containers for Airtight Seals
Use the 4 glass jars with airtight lids you've gathered. These are perfect because they block both light and moisture while allowing you to see the contents. Clean them thoroughly with warm, soapy water and dry completely before use—any lingering moisture will encourage mold growth.
Label each jar immediately with the seed variety and storage date using the permanent marker. I also include a small piece of silica gel packet in each jar to absorb any residual moisture. Seal the jars tightly, then store them in a cool, dark place like a basement, root cellar, or even the back of your pantry.
⏰ Step 3: Store in Optimal Temperature and Light Conditions
The ideal storage temperature for most seeds is between 32-41°F. This slows down metabolic processes that degrade seed viability over time. If you don't have a dedicated seed fridge, place your jars in the small insulated cooler with the refrigerator thermometer to monitor temperatures.
Never store seeds in the refrigerator door where temperatures fluctuate wildly. Instead, place them on a shelf where the temperature remains consistent. For long-term storage beyond 5 years, consider adding a desiccant packet to maintain dryness—even small amounts of moisture can reduce viability by up to 50%.
🌱 Step 4: Test Viability Periodically
Every 1-2 years, test a small sample of seeds to check their viability. Place 5-10 seeds between damp paper towels in a sealed plastic bag and store them in a warm location (70-75°F). Check for sprouting after 7-10 days. If fewer than 50% germinate, it's time to refresh your seed supply.
I like to test seeds in the small plastic baggies first—this way, I don't have to open the main storage jars unless necessary. If germination rates drop below 30%, discard those seeds and start fresh. This simple test saves you from planting non-viable seeds and wasting garden space.
☀️ Step 5: Handle Seeds Carefully to Preserve Quality
Avoid touching seeds with your hands, as natural oils from your skin can reduce viability. Instead, use the tweezers to transfer seeds between containers or for planting. When opening jars, do so in a dry environment—never in a humid bathroom or kitchen where moisture might seep in.
If you need to divide seeds between containers, do it in a dry, well-ventilated area like a sunny windowsill. Never store seeds in the freezer unless they're in a completely airtight, moisture-free container—freezer burn can ruin them just as quickly as humidity. With proper care, your seeds can remain viable for 5-10 years or longer!
Tips & tricks for perfect garden seed storage
These simple tricks will help you extend your seeds' life beyond what you'd expect—no fancy gear required.
Drying Done Right: In Step 1, those 3-7 days of drying are non-negotiable for seeds like beans or peas. I've learned the hard way that even slightly damp seeds will mold within weeks. Place a small dish of rice near your drying seeds—it absorbs excess moisture from the air. For faster results, try a dehumidifier set to low in the drying area. The goal is seeds that feel like they'll crumble when pressed, not just "feel dry."
Container Selection: While glass jars are ideal, if you only have plastic containers, choose ones with airtight seals and avoid clear ones—light degrades seed quality. I've had great success with vacuum-sealed bags too, but remove as much air as possible before sealing. The key is eliminating all oxygen exposure, which accelerates seed aging.
Temperature Matters: That 32-41°F range in Step 3 is critical—your refrigerator's crisper drawer often hits this sweet spot. If using a cooler, place a bowl of water inside to create humidity balance. I've seen viability drop by 30% when seeds sat at 50°F instead of 40°F. For extra protection, wrap jars in aluminum foil to block any stray light that might sneak in.
Viability Test Hack: When testing seeds in Step 4, place your damp paper towel setup near a sunny window—warmth speeds up germination. I've found that seeds from tomatoes and peppers often germinate faster than others, so they're good candidates for early testing. If you're impatient, try a seedling heat mat set to 75°F to cut your waiting time to just 5-7 days.
Pro Tips for Garden Seed Storage
- These simple tricks will help you extend your seeds' life beyond what you'd expect—no fancy gear required.
- Drying Done Right: In Step 1, those 3-7 days of drying are non-negotiable for seeds like beans or peas.
- Container Selection: While glass jars are ideal, if you only have plastic containers, choose ones with airtight seals and avoid clear ones—light degrades seed quality.
Frequently asked questions
Got questions about keeping your garden seeds fresh?
Here are answers to the most common concerns—so you can grow with confidence!
How long can I store seeds before they lose viability?
Most vegetable seeds stay viable for 2–5 years when stored properly, while flower and herb seeds last 1–3 years. Check seed packets for specific dates (if available) or test germination by planting a small sample. Pro tip: Label seeds with the harvest year to track freshness!
Can I store seeds in the fridge or freezer for longer shelf life?
Yes! Freezing seeds (0°F or below) can extend viability for decades (e.g., peas and beans last 10+ years). For the fridge (35–40°F), use airtight containers with silica gel packets. Just avoid moisture—thaw seeds slowly to prevent condensation damage.
What’s the best way to organize seeds if I have a large collection?
Use clear, labeled containers (mason jars or plastic bins) sorted by:
- Family (e.g., Solanaceae for tomatoes/peppers)
- Viability (newest seeds first)
- Planting season (cool vs. warm crops)
My seeds smell musty or look damp—what should I do?
Damp or moldy seeds are non-viable. Discard them immediately! To prevent this:
- Use desiccants (like silica gel) in containers.
- Store in cool, dark places (basements or root cellars work well).
- Check seeds quarterly for pests or moisture.
Are there any seeds I shouldn’t store long-term?
Some seeds lose viability quickly, like:
- Onions and leeks (1 year max)
- Parsnips (2 years)
- Lettuce (3–4 years)
Wrapping up and next steps
Proper garden seed storage is your secret weapon for a thriving garden year after year!
By keeping seeds cool, dark, and dry, you’ll preserve their viability and save money—no more last-minute trips to the nursery. Now’s the perfect time to organize your stash and label those seed packets! Grab a container, follow the tips, and get ready to plant with confidence next season.
🌱 Next Step: Audit Your Seed Collection
Take 10 minutes to check your stored seeds—toss expired ones, reorganize, and label anything unlabeled. Happy gardening! 🌿