Planting
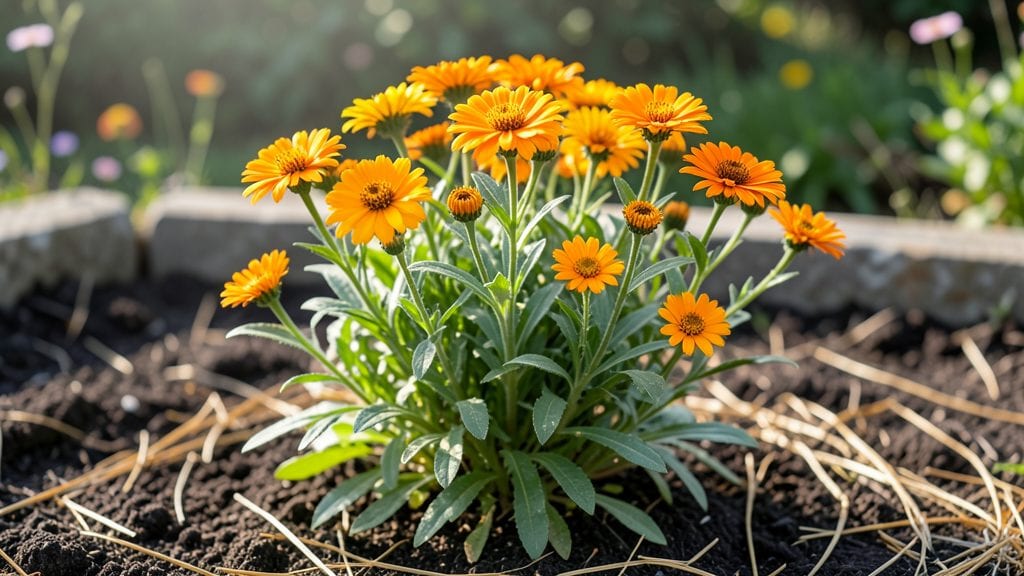
Home-sown gardens transform tiny urban spaces into lush, thriving oases with just a few well-chosen plants and smart layering. 🌱 I started mine on my 6-foot-wide balcony after realizing store-bought seedlings cost more than seeds—and lacked the same satisfaction.
The key isn’t having space, but stacking plants vertically and choosing varieties that perform year-round.
Begin with a sturdy raised planter or vertical trellis to maximize vertical growth, then layer plants by height: tall perennials like rosemary at the back, medium herbs like basil in the middle, and trailing plants like nasturtiums at the edges.
Add self-watering pots to cut down on maintenance, and you’ll spend less time watering and more time enjoying the harvest. Even in small spaces, this setup produces enough greens for salads, herbs for cooking, and flowers that attract pollinators.
What you’ll love most is how these gardens evolve with the seasons. In spring, snap peas climb the trellis while lettuce thrives in cooler weather. By summer, tomatoes and peppers take center stage, and in fall, kale and spinach keep growing when most gardens call it quits.
The best part? Every plant started from seed means you’re growing exactly what you want—no more wilted store-bought herbs or bland supermarket tomatoes.
This approach works in balconies, rooftops, or even sunny windowsills, and the same principles apply whether you’re growing for food, beauty, or both. Start small, experiment with combinations, and watch how a few well-placed plants can turn any corner into a productive, sustainable garden.
The only limit is your creativity—and your balcony’s weight capacity.
📚 In This Guide
- What you need
- Instructions
- Tips and common mistakes
- Wrapping up and next steps
What you need
- ● Containers or raised beds: At least 2–4 (10–12" deep) with drainage holes. Opt for lightweight, durable materials like fabric grow bags, wooden crates, or plastic pots.
- ● High-quality potting mix: 1–2 bags (sterilized, peat-free, and nutrient-rich like Miracle-Gro or FoxFarm Ocean Forest). Avoid garden soil—it compacts!
- ● Seeds or seedlings: Fast-growing layers (herbs, lettuce, radishes): 10–20 seeds per pot (or 3–5 seedlings).
- ● Mid-height plants (bush beans, Swiss chard, kale): 2–4 plants per container.
- ● Vertical climbers (pole beans, cucumbers, peas): 1–2 plants per trellis or tower.
- ○ Watering can or hose with a gentle spray nozzle: 1–2 gallons capacity. Drip irrigation kits (optional but game-changing!).
- ● Fertilizer: Slow-release granules (like Osmocote) or liquid organic feed (e.g., fish emulsion). Start with 1 tbsp per plant.
- ● Trellises or stakes: 2–4 (bamboo, metal, or plastic) for vertical plants. Height: 3–6 feet.
- ● Mulch: Straw, shredded leaves, or coconut coir (1–2 inches thick) to retain moisture.
- ● Garden markers: Biodegradable labels or popsicle sticks to track plantings.
- ● Pruning shears: For trimming and harvesting (look for bypass-style for clean cuts).
- ● Grow lights or LED bulbs: If indoors or low-light areas (12–16 hours/day for seedlings).
- ● Compost bin: Turn kitchen scraps into gold for future gardens!
- ● Wheelbarrow or tote: For hauling soil, tools, or harvests.
Step-by-Step guide for designing home sown gardens in urban spaces
Transform limited urban space into a thriving, layered garden that blooms year-round with this strategic approach.
🌱 Step 1: Plan Your Vertical and Horizontal Layers
Start by sketching your space, noting sun exposure patterns throughout the day. Urban gardens thrive with three-dimensional layering: tall vertical elements like trellises or espaliered fruit trees, mid-height shrubs or perennials, and low-growing ground covers. I like to use 4-foot-tall obelisks for climbing roses or clematis—they add height without sprawling into walkways.
For your 4 servings (or garden sections), designate one corner for fast-growing annuals (like nasturtiums or sweet alyssum) that fill gaps quickly, another for perennial workhorses (such as lavender or sedum), and a third for edible layers like dwarf fruit trees or herb spirals. This ensures year-round interest without overwhelming your space.
🪴 Step 2: Prepare Containers and Soil for Urban Constraints
Urban soil is often compacted or nutrient-poor, so container gardening becomes essential. Use 10-12 inch deep pots for perennials and at least 5-gallon containers for shrubs or small trees. Fill them with a custom mix of 60% potting soil, 20% compost, and 20% perlite—this ensures drainage while retaining moisture for roots.
For in-ground areas, amend the soil with 2-3 inches of compost and a slow-release fertilizer (like 10-10-10) before planting. Test your soil’s pH—most urban gardens lean alkaline, so add sulfur or peat moss if you’re growing acid-loving plants like blueberries or hydrangeas. I’ve found that mulching with 2-3 inches of shredded bark keeps roots cool in summer and conserves moisture.
☀️ Step 3: Select Plants for Seasonal Continuity
Choose plants that overlap bloom times or provide structural interest in every season. Start with winter hardy evergreens (like boxwood or dwarf conifers) for year-round greenery, then layer in early spring bloomers (heaths or hellebores), summer perennials (daylilies or coneflowers), and fall foliage stars (Japanese maples or smoke bush). For your 4 sections, I recommend dedicating one to edible perennials (asparagus, rhubarb) and another to cutting flowers (zinnias, cosmos) to extend the harvest.
Don’t forget textural contrast—pair fine-leaved plants (like ferns) with bold foliage (like hostas or ornamental grasses). This creates visual depth in tight spaces. I always include at least one fragrant plant (like rosemary or jasmine) to engage multiple senses in a small footprint.
💧 Step 4: Implement a Watering System for Urban Efficiency
Drip irrigation or self-watering containers are game-changers in urban gardens where water access is limited. Install 1/4-inch tubing with emitters spaced 12-18 inches apart along plant rows. Set timers for deep watering every 2-3 days in summer, adjusting for rainfall. I’ve seen soaker hoses work well too—they deliver moisture slowly at the root zone, reducing evaporation.
For containers, use self-watering pots or add reservoir trays beneath to catch excess water. Urban gardens dry out faster due to heat reflection from buildings, so water in the early morning to minimize evaporation. Watch for wilting leaves by midday—that’s your cue to increase frequency slightly.
✂️ Step 5: Maintain Layers Through Seasonal Transitions
Prune spent blooms immediately to encourage reblooming (like deadheading daylilies or coneflowers), but leave seed heads on some plants (like black-eyed Susans) for winter interest. In fall, divide overcrowded perennials (like hostas or peonies) every 3-4 years to keep them vigorous. I always mulch heavily in late fall with 4-6 inches of shredded leaves to insulate roots during winter.
Spring is for light cleanup—remove dead foliage but leave last year’s seed heads until new growth appears. Fertilize early in the season with a balanced organic fertilizer (like 5-5-5) to jumpstart growth. Urban gardens recover faster with regular feeding—I apply a slow-release fertilizer every 6-8 weeks during the growing season.
Tips & tricks for perfect urban garden layering
These strategic insights will help you maximize every inch of your compact urban space while creating a garden that thrives year-round.
Layering Strategy: In Step 1, when planning your vertical layers, consider using 4-foot-tall obelisks for climbing roses or clematis—they create instant height without taking up valuable ground space. For your 4 sections, I recommend dedicating one to edible perennials like asparagus or rhubarb, which provide both beauty and harvestable bounty. This vertical approach not only maximizes space but also creates visual interest that draws the eye upward, making small spaces feel more expansive.
Soil Science: When preparing containers in Step 2, don't skimp on the 20% compost in your mix—this is where microbial activity happens. Urban soil often lacks organic matter, so this ratio gives your plants the nutrients they need to thrive. For in-ground areas, that 2-3 inches of compost should be worked into the top 6 inches of soil, not just spread on the surface. Think of it as giving your plants a nutrient-rich foundation, just like you'd preheat an oven before baking.
Seasonal Planning: In Step 3, when selecting plants for seasonal continuity, I've found that pairing winter hardy evergreens with early spring bloomers creates seamless transitions between seasons. For example, plant boxwood shrubs (evergreen) alongside heaths (early spring bloomer)—the boxwood provides structure while the heaths bring color when little else is blooming. This layered approach ensures your garden has something interesting to offer every month of the year.
Watering Wisdom: The 2-3 days watering schedule in Step 4 works best when you water deeply each time, encouraging roots to grow downward rather than staying shallow. For containers, I've found that adding reservoir trays beneath pots can reduce watering frequency by up to 30%, as the trays capture and slowly release excess water. This is particularly valuable in urban settings where water access might be limited or inconsistent.
Pro Tips for Home Sown Gardens
- These strategic insights will help you maximize every inch of your compact urban space while creating a garden that thrives year-round.
- Layering Strategy: In Step 1, when planning your vertical layers, consider using 4-foot-tall obelisks for climbing roses or clematis—they create instant height without taking up valuable ground space.
- Soil Science: When preparing containers in Step 2, don't skimp on the 20% compost in your mix—this is where microbial activity happens.
Frequently asked questions
Got questions about creating a thriving home-sown garden in compact urban spaces? You’re not alone! Here are answers to the most common queries to help you grow with confidence—no green thumb required.
What’s the best way to start a home-sown garden with limited space?
Prioritize vertical gardening (trellises, hanging planters) and container gardening (window boxes, raised beds). Use dwarf or bush varieties of veggies/herbs (like cherry tomatoes or basil) to maximize yield. Even a sunny balcony or windowsill can work with the right setup!
When is the ideal time to plant for year-round harvests?
For urban spaces, successive planting is key:
- Cool season crops (kale, spinach, carrots): Start in early spring or late summer.
- Warm season crops (peppers, cucumbers, beans): Plant after last frost (check local dates!).
- Herbs (cilantro, parsley): Can often grow year-round in mild climates.
Use season extenders (row covers, cold frames) to push boundaries!
Are there budget-friendly alternatives to expensive garden supplies?
Swap pricy tools for:
- DIY seed starters: Egg cartons, toilet paper rolls, or yogurt cups.
- Upcycled containers: Clean buckets, old boots, or even repurposed furniture.
- Free/cheap compost: Kitchen scraps + yard waste in a bin (no fancy tumbler needed).
Check local community gardens or swap groups for seeds and tools too!
How do I keep pests away without chemicals in a small garden?
Use natural deterrents like:
- Companion planting: Marigolds repel nematodes; basil deters flies.
- Handpicking: Check leaves daily for aphids/caterpillars (drop them in soapy water).
- Neem oil or garlic spray (mix 1 crushed garlic clove + 1 tsp oil in 1 quart water).
- Physical barriers: Row covers for cabbage moths or copper tape for slugs.
Rotate crops yearly to disrupt pest life cycles!
Can I grow edibles in a garden that’s mostly shade?
Yes! Opt for low-light-tolerant plants like:
- Leafy greens: Lettuce, spinach, Swiss chard (thrive in 4–6 hours of sun).
- Herbs: Parsley, cilantro, mint (grow well in partial shade).
- Root veggies: Radishes, green onions (fast-growing, minimal light needed).
- Fungi: Oyster mushrooms (grow in shaded, humid spots like under a deck).
Boost light with a reflective surface (white wall or mirror) to trick plants into growing!
Wrapping up and next steps
Creating a home-sown garden in compact urban spaces isn’t just possible—it’s a rewarding way to bring life, color, and freshness to your surroundings year-round! 🌱 From vertical planters to layered edibles, every inch can thrive with the right planning.
Whether you’re a seasoned green thumb or just starting, the key is to embrace creativity and adaptability.
Ready to turn your space into a thriving oasis? Start small—pick one corner or container this week, and let your garden grow with confidence. Happy planting! 🌿