Landscaping
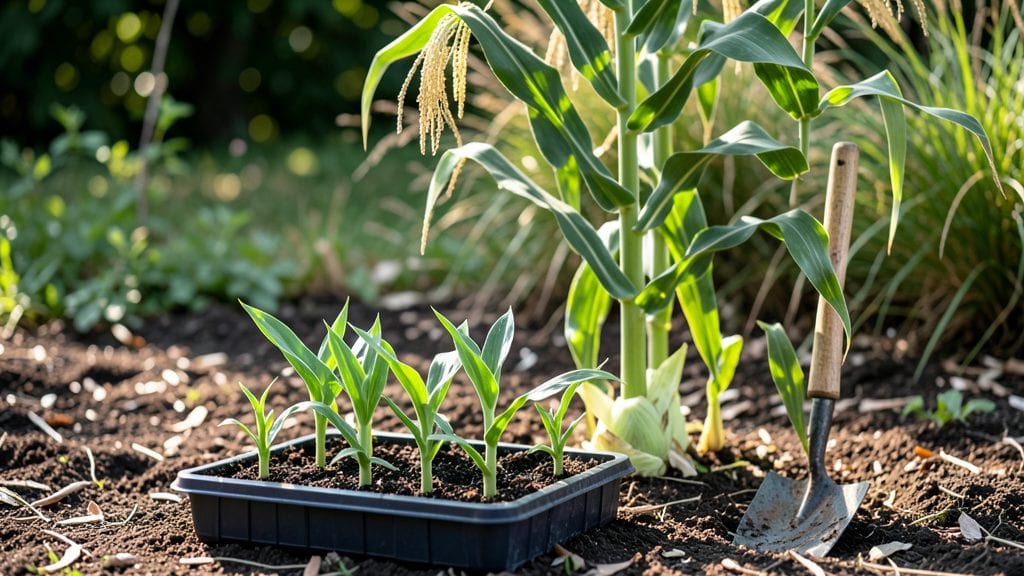
That corner fence garden you’ve been ignoring? It’s the secret weapon your yard needs. 🌿 I turned my own awkward triangle into a lush, private retreat by stacking plants vertically and choosing varieties that thrive in tight spaces. The key is working with the angles—not against them.
Start with a 3-foot-tall lattice against the fence for climbing roses or clematis, then tuck perennials like hostas or ferns at the base for year-round texture. A gravel pathway (just 2 feet wide) keeps the space usable while defining the garden’s edges.
Sunlight dictates your plant choices, so note which spots get morning sun, afternoon shade, or full sun all day.
By summer, you’ll have a blooming privacy screen that smells like a cottage garden. The roses climb high, the hostas fill in below, and the pathway lets you stroll through without trampling your plants. Even in winter, the structure stays beautiful with evergreens or bare-stem dogwoods.
This design works for any fence corner—urban backyards, suburban lots, or even small patios. The only rule? Start small, then expand as you see what thrives. Your yard’s most overlooked space will become its most charming feature.
📚 In This Guide
- What you need
- Instructions
- Tips and common mistakes
- Wrapping up and next steps
What you need
- ● Fencing or Trellis: Privacy lattice (6 ft tall, 4–6 ft wide) or wooden/vinyl fence panels (custom lengths, ~8 ft tall)
- ● Metal or wooden posts (T-posts or 4x4s, 6–8 ft long, 4–6 needed)
- ● Plants: Climbing plants (e.g., clematis, jasmine, or wisteria—3–5 plants)
- ● Shrubs (e.g., boxwood, hydrangeas, or dwarf lilacs—3–6 plants)
- ● Perennials (e.g., lavender, salvia, or ornamental grasses—10–15 plants)
- ○ Annuals (e.g., petunias, fuchsias—optional, for color bursts)
- ● Soil & Mulch: Topsoil (2–3 cubic yards, depending on size)
- ● Compost (1–2 bags, 40 lb each)
- ● Mulch (cypress or shredded bark, 1–2 bags)
- ● Solar-powered garden lights (for ambiance)
- ● Decorative stakes or obelisks (to guide climbers)
- ● Drip irrigation kit (for low-maintenance watering)
- ● Weather-resistant planters (for modular flexibility)
- ● Check local building codes for fence height/permits
- ○ Test soil pH (optional but helpful for plant selection)
- ● Clear debris from the corner (rakes, gloves, trash bags)
Step-by-Step instructions for designing a corner fence garden
Here's how to create a lush, seasonal privacy screen using four distinct plant layers.
🌱 Step 1: Plan Your Privacy Layers
Start by sketching your corner space and dividing it into four vertical zones. The tallest plants go closest to the fence, while the shortest border the walkway. I like to use 8-foot tall arborvitae as my backbone—plant them 3 feet from the fence in a staggered pattern. This creates an instant wall while allowing room for smaller plants in front.
Next, add a mid-height shrub layer like hydrangeas or butterfly bush, spaced 18 inches apart between the tall plants. These fill gaps and provide seasonal color. Measure your corner's depth—most privacy screens need at least 6 feet deep to block views completely.
🌿 Step 2: Add Seasonal Flowering Plants
For year-round interest, plant perennial flowers in the front layer. I recommend coneflowers and black-eyed Susans for summer blooms, heuchera and ornamental grasses for fall texture, and daffodils and hellebores for early spring color. Space these 12-18 inches apart to allow sunlight to reach the base.
Here's the thing—mix heights within each layer. Taller flowers like Shasta daisies should go toward the back of the front layer, while shorter varieties like ajuga or creeping thyme can spill over the edges. This creates natural movement and prevents a flat look.
☀️ Step 3: Incorporate Climbing Vines for Vertical Interest
Use fast-growing vines like clematis or morning glories to train up trellises or the fence itself. Install 4-foot tall trellises in the corners where the fence meets the walkway—this draws the eye upward and softens sharp angles. Plant vines 6 inches from the trellis to give roots room to establish.
Watch for where sunlight hits your corner. If it's shady, opt for ivy or climbing hydrangeas that thrive in low light. For sunny spots, passionflower or hops add dramatic foliage and summer blooms. Water vines deeply once a week until they establish roots—you'll know they're happy when new leaves appear every 2-3 weeks.
✂️ Step 4: Maintain Through the Seasons
Prune evergreen shrubs in late winter to encourage new growth, while deciduous plants get their haircut in early spring before buds swell. I always remove no more than 1/3 of the plant at a time—this prevents shock and keeps them healthy. Deadhead spent blooms regularly to encourage more flowers.
Mulch heavily with 3 inches of organic mulch to retain moisture and suppress weeds. Check soil moisture every 2 weeks—if the top 2 inches feel dry, water deeply. Most privacy screens need 1-2 inches of water per week, but adjust based on your climate. You'll see your garden thrive when leaves stay vibrant and new growth appears consistently.
Tips & tricks for perfect corner fence garden design
Creating a stunning corner fence garden takes more than just planting—it's about strategic layering and seasonal planning that keeps your space lush year-round.
Layering Secret: When positioning your 8-foot arborvitae in Step 1, stagger them in a staggered pattern rather than a straight line. This creates natural movement and prevents a rigid, formal look. I've found that spacing them 3 feet from the fence also prevents overcrowding as they mature, giving your mid-height shrubs room to breathe.
Sunlight Strategy: Before planting your perennial flowers in Step 2, observe your corner's sunlight patterns for at least a week. If your space gets morning sun but afternoon shade, place sun-loving Shasta daisies toward the sunny side and shade-tolerant heuchera toward the shaded side. This simple adjustment makes all the difference in plant health and bloom quantity.
Vine Training Tip: For your 4-foot trellises in Step 3, install them at a slight angle (about 10 degrees) rather than perfectly vertical. This creates a more natural look and helps vines like clematis or morning glories climb more easily. Also, plant vines 6 inches away from the trellis—this prevents root competition and gives them room to establish before they start climbing.
Maintenance Hack: Mark your pruning schedule with colorful flags or stakes at the corners of your garden. I use red flags for late winter pruning of evergreens and green flags for early spring pruning of deciduous plants. This visual reminder prevents me from pruning at the wrong time and keeps my plants healthy throughout the year.
Pro Tips for Corner Fence Garden
- Creating a stunning corner fence garden takes more than just planting—it's about strategic layering and seasonal planning that keeps your space lush year-round.
- Layering Secret: When positioning your 8-foot arborvitae in Step 1, stagger them in a staggered pattern rather than a straight line.
- Sunlight Strategy: Before planting your perennial flowers in Step 2, observe your corner's sunlight patterns for at least a week.
Frequently asked questions
Got questions about corner fence gardens? You’re not alone! Here are answers to some of the most common queries to help you plan with confidence.
What’s the best time of year to start a corner fence garden?
The ideal time depends on your climate, but spring (after the last frost) or early fall are the sweet spots. These seasons give plants enough time to establish roots before extreme heat or cold. If you’re in a mild zone, you can even plant year-round—just choose cold-hardy or heat-tolerant varieties!
How much does a corner fence garden cost to install?
Costs vary widely based on materials and size. A DIY project with basic lattice, trellises, and climbing plants can run $50–$200. For a premium setup with privacy screens, arbors, and drought-resistant plants, budget $300–$1,000+. Pro tip: Repurpose materials like pallets or old fencing to cut costs!
Can I use a corner fence garden for edibles like vegetables or herbs?
Many climbing veggies (e.g., pole beans, peas, cucumbers) and herbs (e.g., rosemary, thyme) thrive in vertical gardens. Just ensure your plants get 6+ hours of sunlight and choose a trellis or cage that supports their growth. Bonus: Edible gardens add functionality and beauty!
How do I keep pests away from my corner fence garden?
Prevent pests with healthy soil, companion planting (e.g., marigolds to deter bugs), and regular pruning. For stubborn critters, try neem oil or physical barriers like netting. Early intervention is key—check plants weekly for signs of damage!
What are some low-maintenance alternatives to a traditional fence garden?
If upkeep feels overwhelming, consider:
- Living walls: Pre-grown panels with built-in irrigation.
- Bamboo screens: Fast-growing, dense, and budget-friendly.
- Hedge rows: Evergreens like boxwood or arborvitae for year-round privacy.
- Modular planters: Stackable pots with self-watering systems.
Pro tip: Choose drought-tolerant plants to slash watering time!
Wrapping up and next steps
A corner fence garden isn’t just a space—it’s a thriving, seasonal masterpiece that adds privacy, beauty, and value to your home. 🌿 By layering plants, smart materials, and a little creativity, you can transform even the trickiest nooks into lush, low-maintenance retreats.
Whether you’re drawn to climbing vines, fragrant shrubs, or bold perennials, the key is starting small and letting nature do the rest!
Ready to turn your corner into a showstopper? Grab your gloves, sketch a quick design, and pick one plant or feature to start this weekend. Small steps lead to big blooms—your future self (and your neighbors!) will thank you. 🌸