Picking
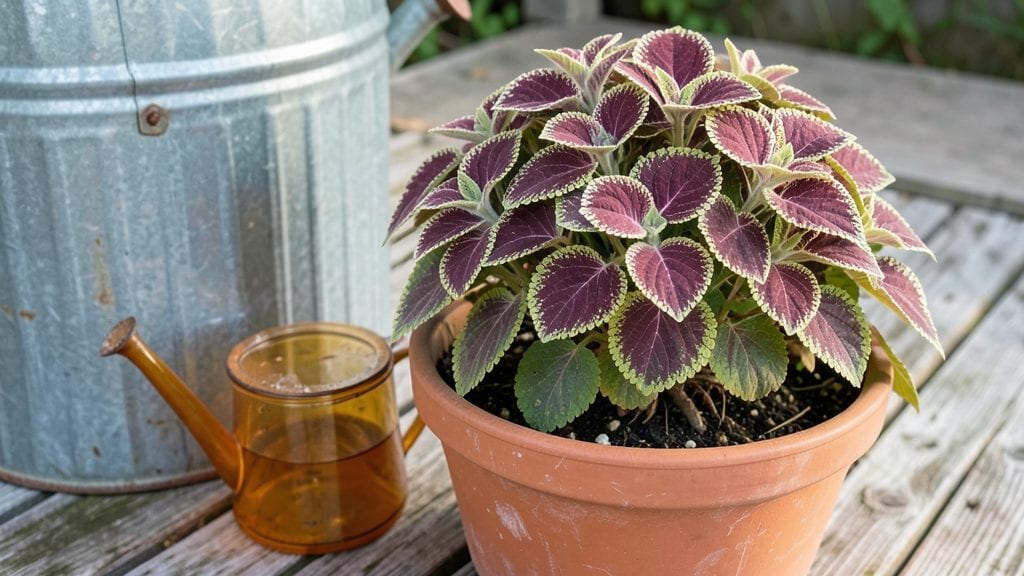
My rainwater harvesting garden slashed my water bill by 60% while turning my yard into a lush, self-sustaining oasis. 🌱 The key isn't just collecting rain—it's designing your space so every drop works harder than paid irrigation ever could.
I started with simple barrels under downspouts, but the real magic happens when you weave storage into the landscape itself.
You don't need a complex setup to begin. A few 55-gallon barrels can water small gardens for months, while swales (shallow trenches) spread water naturally across larger areas. Pair this with drought-tolerant plants like lavender or sedum, and you'll have a system that thrives on what falls from the sky.
The best part? No more hauling hoses or worrying about municipal restrictions.
What you end up with is a garden that stays vibrant even in dry spells, with soil that stays moist without soggy patches. The air smells richer, the birds return for the natural water sources, and you'll notice how much less you reach for the sprinkler.
This works for urban balconies with one barrel or rural acreages with underground cisterns.
Here's the beautiful twist: the more you integrate harvesting, the more your garden teaches you. Every downpour becomes a chance to observe how water moves through your space—and adjust. Start small, then let your system grow as naturally as the plants around it.
📚 In This Guide
- What you need
- Instructions
- Tips and common mistakes
- Wrapping up and next steps
What you need
- ● Rainwater collection system: 1–3 food-grade barrels (55–75 gallons, with spigots and lids)
- ● 1 first-flush diverter (to filter debris from the first heavy rain)
- ● Gutters & downspouts: 20–50 ft aluminum or PVC gutters (size depends on roof area)
- ● 1–2 flexible downspout connectors (to direct water to barrels)
- ● Filtration: 1 mesh screen (for gutter ends, ~¼-inch mesh)
- ● 1 sock filter (for barrel inlet, 100–200 micron)
- ● Irrigation: 1–2 drip irrigation kits (with emitters and tubing)
- ○ 1 soaker hose (optional, for slow-release watering)
- ● Measuring tape & level
- ● Drill + 1-inch hole saw (for barrel spigots)
- ● PVC pipe cutter (if using PVC gutters)
- ● Heavy-duty zip ties & screws
- ● Caulk or silicone sealant (for waterproofing)
- ● Solar-powered pump (for elevated gardens)
- ● Water quality test kit (to monitor pH/chemicals)
- ● Decorative planters or rain chains (for aesthetic appeal)
- ● Rain sensor (to automate irrigation)
Step-by-Step instructions for building a rainwater harvesting garden
Here's how to create a self-sufficient garden that captures and uses every drop efficiently.
🪴 Step 1: Choose and Position Your Collection System
Start with a 55-gallon rain barrel or similar container placed under a downspout from your roof. The higher the downspout, the better the water pressure for irrigation. I like to position mine near the garden's center for easy access. Make sure the barrel sits on a sturdy, level surface—uneven ground can cause leaks or instability.
Use a first-flush diverter (a simple plastic bottle with holes) to collect the first gallon of runoff, which carries the most debris and pollutants. This keeps your stored water cleaner. If you don’t have one, just let the first few minutes of rain run off before redirecting it into the barrel.
💧 Step 2: Install a Simple Filtration and Distribution Setup
Attach a mesh screen filter (like a fine window screen) over the barrel’s spout to block leaves and debris. For irrigation, connect a soaker hose or drip irrigation kit to the spout. Run the hose along garden beds, spacing emitters 12-18 inches apart for even watering. This delivers moisture directly to roots without waste.
If you’re using a gravity-fed system, elevate the barrel on a stand or platform to increase pressure. A 5-gallon bucket with a spigot works well for smaller gardens—just place it under the downspout and let it fill between watering sessions. Always keep the system covered with a fine mesh lid to prevent mosquito breeding.
☀️ Step 3: Design Your Garden for Water Efficiency
Group plants with similar water needs together—drought-tolerant perennials like lavender or succulents near the barrel’s output, and water-loving annuals like impatiens farther away. Use mulch (like straw or wood chips) to retain moisture and reduce evaporation. A 2-3 inch layer around plants keeps soil cool and locks in water.
Incorporate swales (shallow trenches) to slow and spread water naturally. Dig a 6-inch deep, 12-inch wide trench along contours, filling it with mulch. When rainwater flows through, it seeps into the soil instead of running off. This mimics nature and cuts irrigation needs by up to 50%.
⏰ Step 4: Monitor and Maintain Your System
Check the barrel weekly for debris, especially after heavy storms. A clogged filter or hose can disrupt water flow. I like to flush the system every month by running clean water through it to prevent algae buildup. If your water smells musty, add a small cup of bleach (unscented) per 100 gallons to sanitize, then rinse thoroughly.
Track rainfall patterns to adjust your setup. In dry spells, supplement with a watering can for seedlings or delicate plants. During heavy rains, divert excess water to a secondary barrel or French drain to avoid overflow. Over time, you’ll learn how much rain your garden needs and when to rely on stored water.
Tips & tricks for building a rainwater harvesting garden
A few smart strategies will help you maximize efficiency and avoid common pitfalls when creating your self-sufficient garden.
Positioning Matters: When placing your 55-gallon rain barrel in Step 1, consider both accessibility and water pressure. I position mine near the garden's center for easy access to all planting areas. For better water pressure, elevate the barrel on a sturdy stand or platform—this creates natural pressure for your irrigation system without needing pumps. Just make sure the stand is level to prevent leaks or instability over time.
Filter Upgrade: In Step 2, while a simple mesh screen filter works, you can enhance your filtration by adding a fine cloth or coffee filter inside the barrel. This catches even smaller debris that might clog your soaker hose or drip irrigation kit. I also recommend checking and cleaning your filters every 2-3 weeks, especially after heavy storms, to maintain proper water flow.
Swale Design Tip: For Step 3, when creating your swales, follow the natural slope of your land rather than trying to force a straight line. The goal is to slow water flow and allow it to soak into the soil gradually. I like to line swales with landscape fabric before adding mulch—this prevents soil erosion and extends their effectiveness. Remember, the 6-inch depth is ideal, but you can adjust slightly based on your soil type and rainfall patterns.
Maintenance Hack: In Step 4, instead of waiting for musty smells to develop, I add a small pinch of citric acid (about 1 teaspoon per 50 gallons) to my monthly flush. This naturally prevents algae growth without the need for bleach. Plus, it leaves a fresh citrus scent in your water! Always use unscented bleach if you prefer that method, and remember to rinse thoroughly after treatment.
Pro Tips for Rainwater Harvesting Garden
- A few smart strategies will help you maximize efficiency and avoid common pitfalls when creating your self-sufficient garden.
- Positioning Matters: When placing your 55-gallon rain barrel in Step 1, consider both accessibility and water pressure.
- Filter Upgrade: In Step 2, while a simple mesh screen filter works, you can enhance your filtration by adding a fine cloth or coffee filter inside the barrel.
Frequently asked questions
Got questions about turning your garden into a self-sustaining rainwater oasis?
Here are answers to the most common concerns—so you can dive in with confidence!
How do I know if my garden is suitable for rainwater harvesting?
Most gardens can benefit from rainwater harvesting, but check your local climate, soil type, and rainfall patterns. Dry climates with seasonal rains (like the Southwest U.S.) are ideal, but even humid areas can use it! Avoid harvesting in regions with heavy pollution or toxic runoff. A quick soil test ensures your plants can thrive with collected rainwater.
When is the best time to set up a rainwater harvesting system?
Start in early spring or late fall to avoid peak planting seasons. This gives you time to install barrels, gutters, or cisterns before the first heavy rains. If you’re retrofitting, fall is perfect—cooler temps make labor easier, and you’ll be ready for winter showers. Pro tip: Test your setup with a small rain event before full-scale use!
Are there affordable alternatives to expensive cisterns or barrels?
DIY options include repurposed food-grade barrels (check local recycling centers), low-cost PVC pipes for underground systems, or even swales (shallow trenches) to redirect rainwater naturally. For urban gardens, foldable fabric tanks (like those from Rainwater Harvesting Solutions) are budget-friendly and portable.
What should I do if my harvested rainwater smells or looks murky?
Murky or foul-smelling water usually means debris, algae, or bacterial growth. First, clean your collection system—scrub barrels with vinegar or bleach (1 tsp per gallon of water). Add a fine mesh filter to gutters and install a first-flush diverter to bypass the first dirty runoff. If algae persists, keep barrels in the shade and add a few drops of food-grade hydrogen peroxide (1 tbsp per 5 gallons).
Can I use rainwater for all my plants, or are some unsafe?
Rainwater is safe for most edible plants, but avoid using it on crops grown in soil amended with treated wood chips (like arsenic-laden CCAs) or near road salt runoff. Non-edible plants (ornamentals, lawns) are fine! For edibles, test soil pH—rainwater is naturally acidic, so amend with lime if needed. Always research local contaminants (e.g., industrial pollution).
Wrapping up and next steps
Transforming your garden into a self-sustaining oasis with rainwater harvesting isn’t just eco-friendly—it’s empowering! By capturing nature’s gift, you slash water waste, save money, and nurture a thriving green space that’s kinder to the planet. 🌱💧
Ready to take the next step? Start small—whether it’s a simple barrel system or a DIY cistern—then expand as your confidence (and garden!) grows. Your zero-waste garden is waiting—let’s make it happen!