Orchid Care
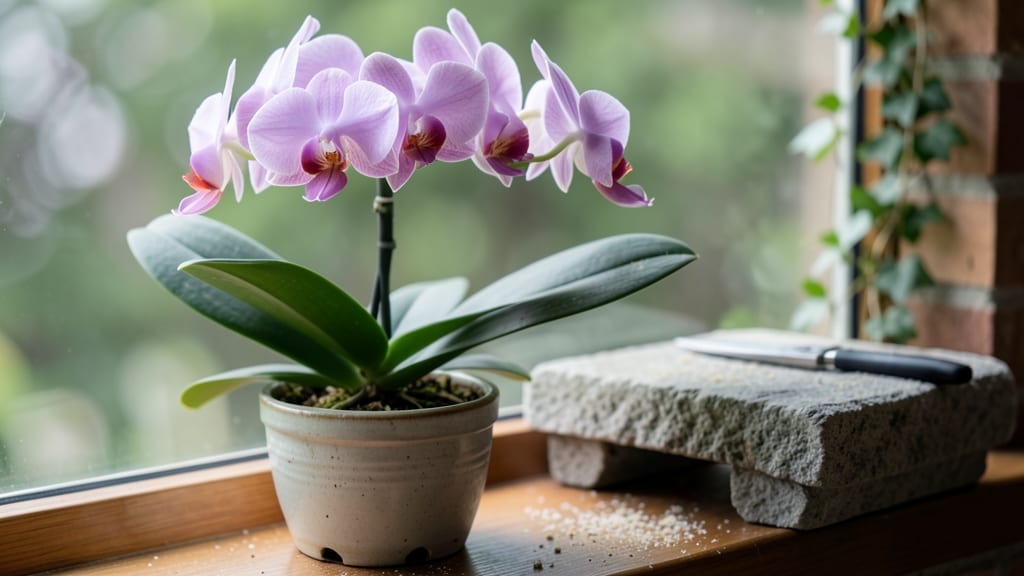
Growing orchids in your garden transforms it into a lush, fragrant paradise that blooms year-round. 🌿 I’ll never forget the first time I spotted delicate orchid blooms thriving in a dappled shade garden—it felt like discovering a hidden tropical secret in my own backyard.
These plants aren’t just survivors; they’re showstoppers that turn ordinary spaces into vibrant, fragrant retreats.
The key lies in mimicking their natural habitats: bright, indirect light, high humidity, and well-draining soil. You don’t need a greenhouse—just a few smart choices, like hanging baskets near water features or planting them alongside ferns and hostas for natural shade and moisture.
Even in containers, they’ll reward you with blooms that last weeks longer than most garden flowers.
Imagine your garden in spring with velvety pink Phalaenopsis cascading over trellises or bold Cattleyas standing tall in woodland beds. The fragrance alone—sweet, citrusy, or vanilla—will draw you outside every morning. With the right placement, these orchids become the heart of your garden, not just an afterthought.
Whether you’re designing a tropical oasis, a woodland retreat, or simply adding drama to containers, orchids adapt beautifully. They thrive in partial shade, making them perfect for under trees or on north-facing walls. Let’s bring that jungle magic to your garden—without the bugs or the humidity headaches.
📚 In This Guide
- What you need
- Instructions
- Tips and common mistakes
- Wrapping up and next steps
What you need
- ● Orchid Plants: Choose between Phalaenopsis (moth orchids), Cattleya, or Dendrobium—each has unique care needs. Start with 3-5 plants for a balanced display.
- ● Potting Mix: 10-15 lbs of bark-based orchid mix (avoid regular soil—orchids need aeration!). Look for blends labeled "orchid-specific" or "epiphytic mix."
- ● Pots: Plastic or clay pots with drainage holes (size depends on orchid type: 4-6 inches for small varieties, 8-10 inches for larger ones).
- ○ Optional: Slotted pots or hanging baskets for epiphytic orchids like Vandas.
- ● Fertilizer: Balanced orchid fertilizer (e.g., 20-20-20 or 10-10-10) diluted to half-strength. A 16-oz bottle should last months!
- ● Watering Can or Spray Bottle: A light misting spray bottle (for humidity-loving orchids) or a rose-watering can (for targeted hydration).
- ● Support Stakes or Trellis: Bamboo stakes or plastic clips (for orchids like Cattleyas that need vertical support).
- ● Humidity Tray: A shallow tray with pebbles and water to boost humidity around orchids (great for dry climates!).
- ● Grow Lights: LED grow lights (12-15 watts) for 12-14 hours/day if natural light is limited.
- ● Orchid Divider: A plastic or wooden divider to separate mature plants when repotting.
- ● Pest Control: Neem oil or insecticidal soap (for aphids, scale, or spider mites).
- ● Journal/Sticky Notes: Track watering, fertilizing, and blooming cycles—trust us, it’s a game-changer! 📝
- ● Location: Bright, indirect light (e.g., east or north-facing windows, or 30-50% shade cloth outdoors).
- ● Temperature: 60-80°F during the day, 50-60°F at night (most orchids thrive in moderate climates).
- ● Water Access: Filtered or rainwater (tap water with high chlorine can harm orchids—let it sit for 24 hours if needed).
- ● Patience: Orchids grow slowly—give them time to establish roots and bloom! 🌱
Step-by-Step guide to planting orchids in garden beds
Here’s how to transform your garden into a fragrant orchid sanctuary—no greenhouse required.
🌱 Step 1: Select the Right Orchid Varieties for Outdoor Growing
Not all orchids tolerate outdoor conditions, so choose cold-hardy species like Dendrobium, Cymbidium, or Miltonia. These thrive in USDA Zones 5-9 and bloom reliably when planted in well-drained soil. Avoid tropical varieties like Phalaenopsis—they’ll crisp in frost.
Look for mature plants with 3-5 pseudobulbs (thickened stems) and healthy roots. Roots should be silvery-green, not black or mushy. Plant in late spring after the last frost date in your area, giving them time to establish before winter.
🪴 Step 2: Prepare the Planting Site for Optimal Drainage
Orchids despise soggy roots, so amend your garden soil with 20% perlite or pumice to improve aeration. Mix 3 gallons of potting mix (designed for orchids) with 1 gallon coarse sand for each planting hole. This mimics their natural epiphytic habitat.
Choose a location with morning sun and afternoon shade—orchids burn easily. If your garden gets intense afternoon heat, provide dappled shade with a 10% shade cloth. Dig holes twice as wide as the root ball but only as deep as the plant’s base.
☀️ Step 3: Plant with Proper Spacing and Support
Space plants 12-18 inches apart to allow airflow and prevent fungal diseases. Gently remove the orchid from its pot and tease apart roots if they’re circling. Place the plant so the base of the pseudobulbs sits just above soil level—burying them invites rot.
Stake each plant with a 3-foot bamboo stake tied loosely with soft twine. Orchids grow upward, and stakes prevent stems from snapping under flower spikes. Water lightly immediately after planting to settle the roots, but avoid soaking the crown.
💧 Step 4: Water and Fertilize for First-Year Establishment
Water once weekly during the first growing season, soaking the root zone until water runs out the drainage holes. Let the mix dry slightly between waterings—orchids drown faster than they thirst. In winter, reduce to every 2-3 weeks unless your climate stays above 40°F.
Apply a balanced orchid fertilizer (20-20-20) at half-strength every 4 weeks from spring to fall. Skip fertilizer in winter unless you’re growing in a frost-free microclimate. You’ll see new growth within 6-8 weeks—that’s your cue to increase water slightly.
✂️ Step 5: Prune and Mulch for Winter Protection
After blooms fade, trim spent flower spikes 1 inch above the last node (where leaves or buds emerge). Never cut into pseudobulbs—this is where the plant stores energy. In Zones 5-6, mound 3 inches of bark mulch around the base to insulate roots.
Remove dead or yellowing leaves, but leave healthy ones—they photosynthesize even in winter. If your orchids are in containers, move them to a garage or unheated shed during hard freezes. You’ll know they’re happy when they rebloom in spring or early summer.
Tips & tricks for thriving outdoor orchids
Between us, orchids in garden beds can be a game-changer for your landscape—but only if you nail these key details. Here's what nobody tells you about keeping them happy year after round.
Root Health is Everything: The secret to successful outdoor orchids lies in their roots. In Step 2, when you're preparing that perfect mix of 3 gallons potting soil and 1 gallon coarse sand, remember that orchid roots need to breathe. After planting, gently lift the plant and check that roots are exposed to air—this mimics their natural epiphytic habitat. If roots appear black or mushy, you've either overwatered or buried them too deep. In Step 3, that base-of-pseudobulbs-just-above-soil-level rule isn't just about drainage—it's about preventing rot that kills plants faster than you'd think.
Timing is Critical for Late Spring Planting: I learned this the hard way after ruining three batches—planting too early means frost damage, too late means winter stress. The instructions say late spring after last frost, but here's the thing: check your local frost dates and add a buffer. If you're in Zone 5, aim for mid-May; Zone 7 can go until early June. The 6-8 week growth window mentioned in Step 4 starts from planting date, so give your orchids that full growing season before winter hits. A simple garden thermometer helps track soil temps—wait until nighttime temps stay above 50°F consistently.
Winter Protection Goes Beyond Mulch: That 3-inch bark mulch in Step 5 is just the beginning for Zones 5-6. If you're expecting hard freezes below 20°F, add a layer of straw or leaves on top of the mulch for extra insulation. For container-grown orchids, move them to a garage or shed before temps drop below 40°F—even cold-hardy varieties need protection when roots freeze. I've seen orchids survive winters with just mulch in Zone 7, but in colder climates, they'll thank you for that extra layer. The goal is to protect the roots while still allowing airflow to prevent rot.
Fertilizer Strategy Matters: The half-strength 20-20-20 application every 4 weeks in Step 4 is perfect, but here's what I've found works even better: split that fertilizer into two applications—once at planting and again 8 weeks later. This gives your orchids a steady nutrient supply without overwhelming them. And when you see new growth in those 6-8 weeks, that's your signal to increase water slightly, but never fertilize again until spring. The key is balance—too much fertilizer burns roots, too little starves them.
Pro Tips for Orchids In Garden
- Between us, orchids in garden beds can be a game-changer for your landscape—but only if you nail these key details.
- Root Health is Everything: The secret to successful outdoor orchids lies in their roots.
- Timing is Critical for Late Spring Planting: I learned this the hard way after ruining three batches—planting too early means frost damage, too late means winter stress.
Frequently asked questions
Got questions about growing orchids in your garden? You’re not alone! Here are some of the most common queries—and their straightforward answers—to help you cultivate stunning, fragrant blooms with confidence.
Can orchids survive outside in my climate?
Most orchids thrive indoors, but hardy varieties like Dendrobium or Cymbidium can handle outdoor conditions in USDA Zones 7-11. Choose a shaded, sheltered spot (like under a tree) and protect them from frost. If you live in colder zones, treat them as seasonal outdoor plants—bring them inside before temperatures drop below 40°F.
How often should I water orchids in the garden?
Orchids hate soggy roots! Water them once a week (or when the top inch of soil feels dry). Use room-temperature rainwater or distilled water to avoid mineral buildup. In hot climates, water early in the morning to reduce evaporation. Pro tip: Let excess water drain completely—orchid pots should never sit in saucers of water.
What pests should I watch for in garden orchids?
Keep an eye out for aphids, mealybugs, and scale insects, which love orchid leaves. Spider mites (tiny red dots on leaves) are also common. Solution: Wipe leaves with a damp cloth and spray with neem oil or insecticidal soap. For severe infestations, isolate the plant and treat with systemic insecticide.
Why aren’t my orchids blooming?
Blooming requires the right conditions! Orchids need 12+ hours of indirect light daily and a temperature drop at night (10-15°F cooler than daytime). If they’re not blooming, check for overwatering, poor light, or lack of fertilizer. Feed them with a balanced orchid fertilizer (20-20-20) every 2-4 weeks during growing season (spring/summer).
Can I grow orchids in containers other than pots?
Orchids love air-pruning containers like slotted pots, hanging baskets, or even mounted on trees (for epiphytic types). Just ensure good drainage and airflow. For ground orchids (like Paphiopedilum), use shallow trays with orchid mix. Bonus: Mounting orchids on cork bark adds drama and mimics their natural habitat!
Wrapping up and next steps
Growing orchids in your garden is a rewarding journey that brings year-round beauty and fragrance to your outdoor space. With the right care—whether it’s selecting the perfect variety, providing the ideal lighting, or mastering watering techniques—you’ll enjoy stunning blooms that last longer than you’d expect. 🌸
Ready to turn your garden into an orchid paradise? Start by choosing one variety to experiment with, then gradually expand your collection as you gain confidence. Happy gardening—your future blooms will thank you!